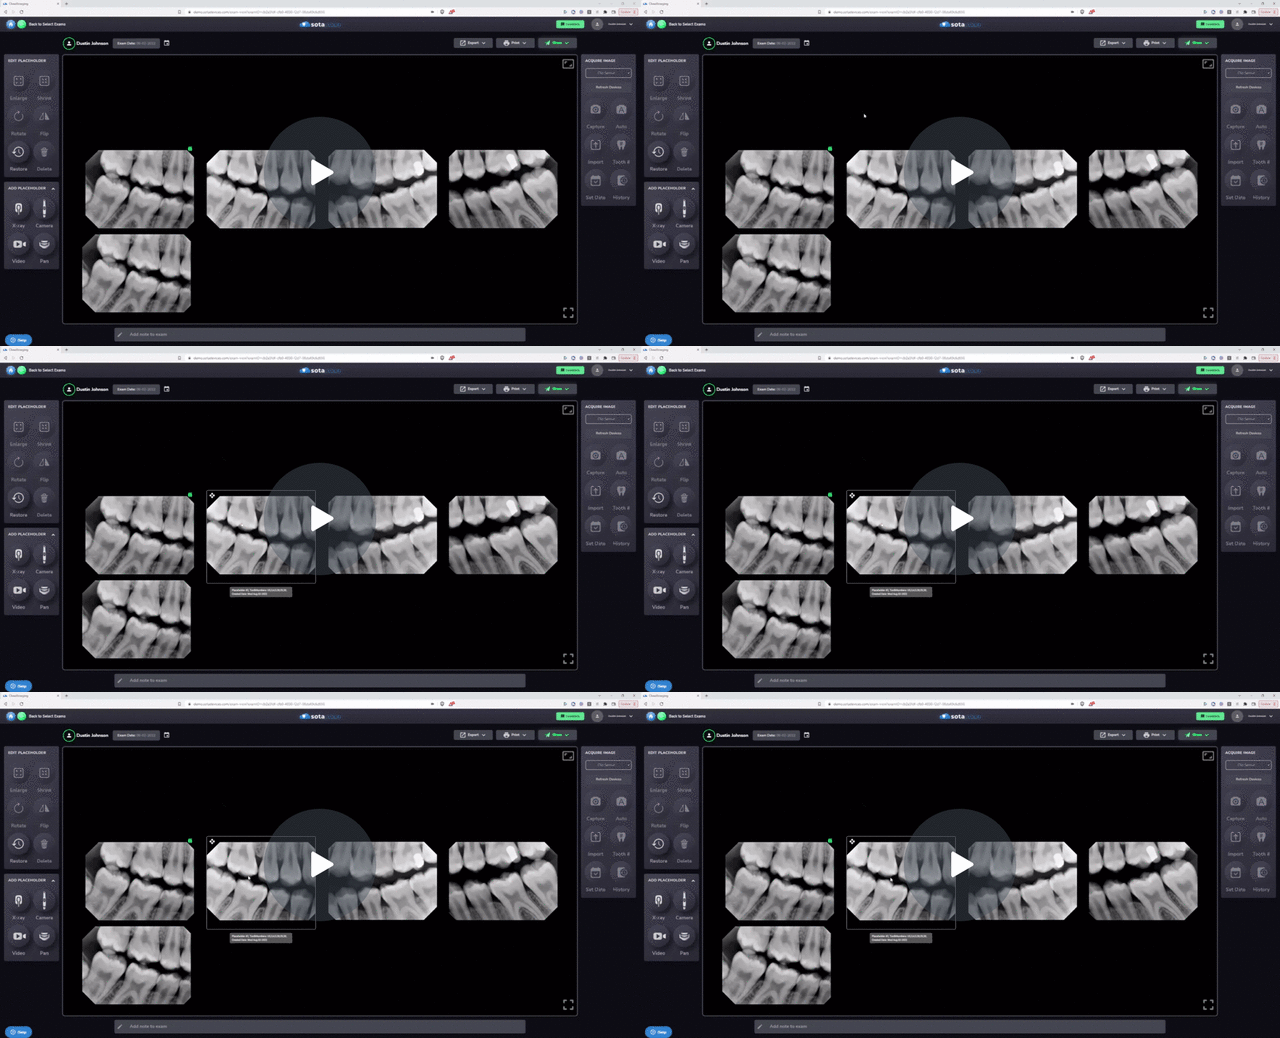
To measure objects in an image, users can calibrate using the ruler tool or by aligning a known object. Measurements are then taken accurately. Annotations with measurements can be saved and adjusted for visibility, and hidden or displayed as needed.
Step 1: Open the Image
- Start by opening the image you wish to measure.
Step 2: Choose Calibration Method
- Click on the ruler tool for automatic calibration based on the image's sensor.
- Alternatively, click the calibrate button to generate your own calibration using a known object in the image.
Step 3: Specify Calibration
- If using the calibrate option, specify a known object's size, such as a 10 millimeter endo file.
Step 4: Align Object
- Line up the specified object within the image for calibration purposes.
Step 5: Confirm Calibration
- Click the calibrate button and confirm the dialogue to finalize the calibration.
Step 6: Take Measurements
- Measure the desired objects in the image.
- Save annotations containing measurements by clicking the save button.
Step 7: Adjust Annotation
- Move the measurement value to ensure it does not obstruct important anatomy.
Step 8: Hide or Reveal Annotations
- Once saved, annotations can be hidden or revealed using the hide button as needed.
How To Use The Measurement Tool - Watch Video

-1.png?height=120&name=SotaCloudLogo_LightBG%20(1)-1.png)