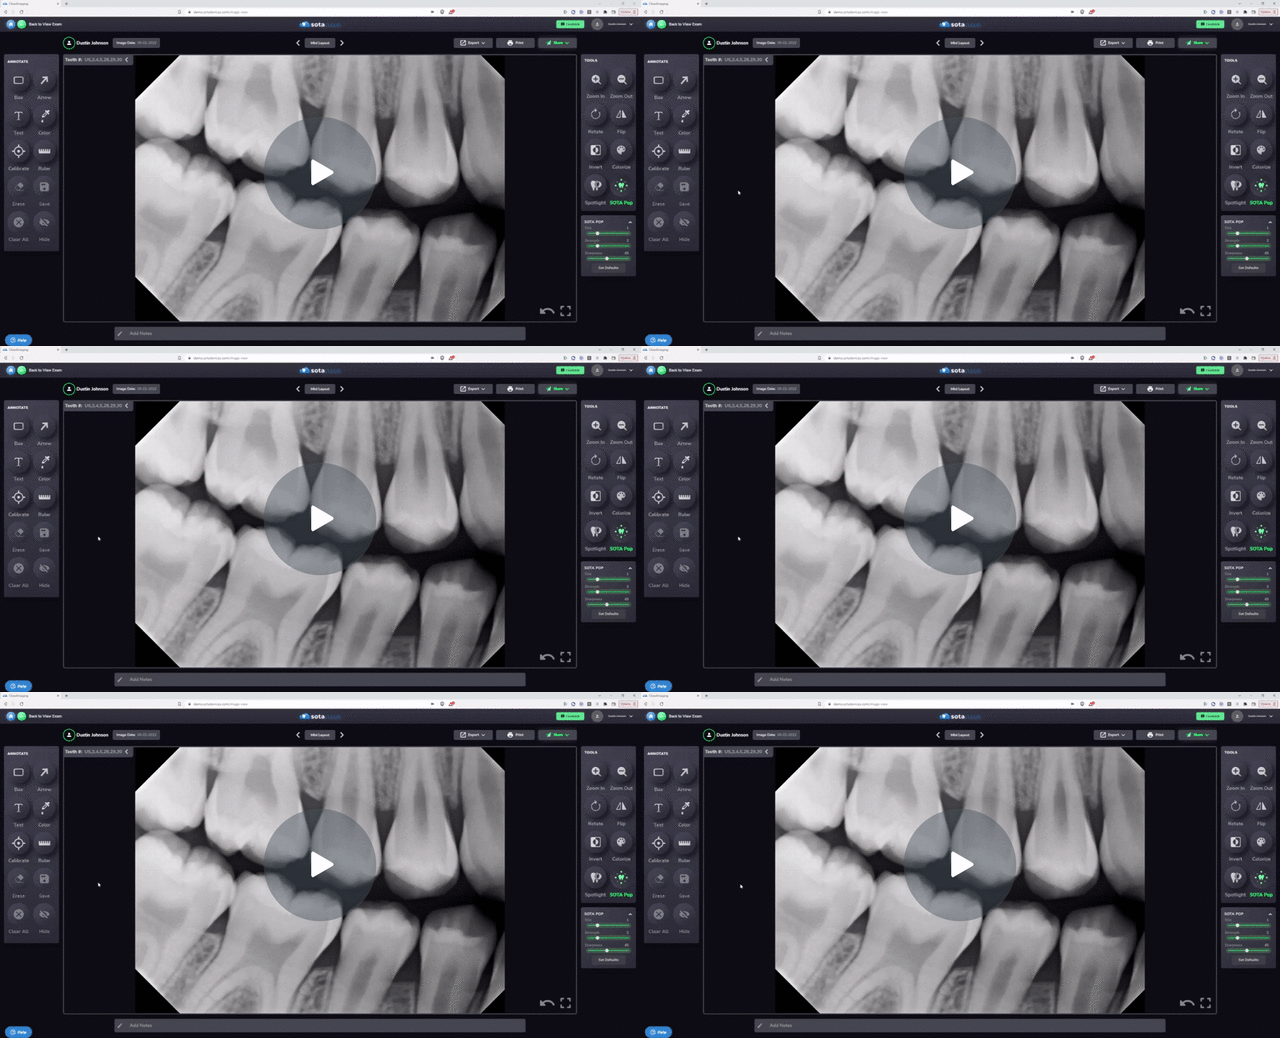
Filters in SOTA Cloud offer a range of enhancements to your dental images, allowing for improved visualization and analysis. Here's how you can utilize filters effectively:
1. Accessing Filters:
- In SOTA Cloud, navigate to the filters menu located within the image editing tools.
2. Understanding Filter Options:
- The first available filter is the "Soda Pop" filter, designed to enhance contrast uniformly across the entire image.
- This filter ensures consistent contrast adjustments, avoiding overexposure in certain areas while maintaining clarity in others.
3. Applying Soda Pop Filter:
- Click on the "Soda Pop" filter to apply it to the image.
- Adjust the size and strength of the filter using the sliders provided to suit your preferences.
- Toggle the filter on and off to observe the difference in contrast.
4. Customizing Default Settings:
- Customize default filter settings by clicking on "Set Defaults" and adjusting parameters as desired.
- Save the new default settings for future use across all images.
5. Utilizing Spotlight Tool:
- The spotlight tool allows for selective application of a stronger filter to specific areas of the image.
- Activate the spotlight tool and position it over areas that require enhanced contrast, such as tooth fissures or dental anomalies.
6. Exploring Additional Filters:
- Explore other available filters such as "Invert" and "Colorized" for unique image enhancements.
- Experiment with basic enhancements including mirrored flips, rotations, and zooming for further adjustments.
7. Reviewing Filter Effects:
- Use the filter preview to compare the unfiltered image with the applied filters, ensuring optimal adjustments for clarity and visibility.
By following these steps, you can effectively enhance your dental images using a variety of filters available in SOTA Cloud, ensuring improved visualization and analysis capabilities.
How To Use And Customize The Sota Pop Filter - Watch Video

-1.png?height=120&name=SotaCloudLogo_LightBG%20(1)-1.png)