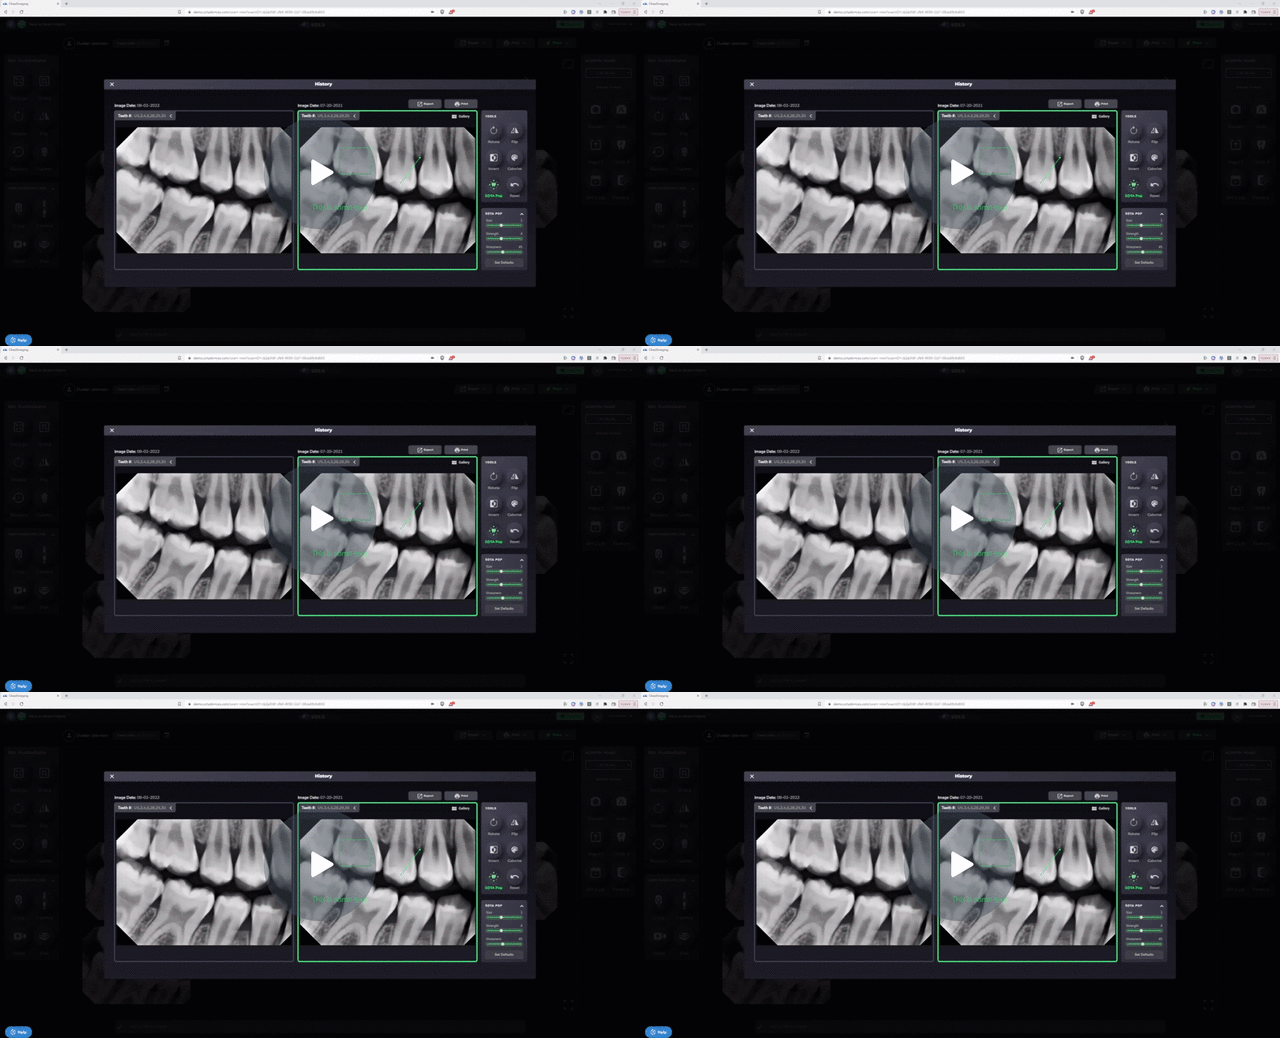
In SOTA, the history view not only allows you to review past images but also provides the functionality to print or export a group of related images. This guide will demonstrate how to utilize this feature effectively.
1. Access History View:
- Navigate to the history view within the SOTA interface to access past images.
2. Select Images:
- In the gallery, choose the images you wish to print or export by selecting them.
3. Click Print:
- Once the desired images are selected, click on the "Print" button.
4. Review Selection:
- On the print preview screen, you'll see the images you've selected displayed.
- Ensure that all relevant images are included in the selection.
5. Print or Save as PDF:
- After confirming the selection, you have two options:
- Click "Print" to directly print the images.
- Click "Save as PDF" to save the images as a PDF file on your device.
6. Customize Metadata (Optional):
- If necessary, customize the metadata included in the printouts.
- Depending on where you intend to send the printouts, there may be restrictions on the metadata that can be included.
- Ensure that the metadata complies with any relevant regulations or requirements.
7. Finalize and Save:
- Once satisfied with the selection and metadata, proceed to print or save the images accordingly.
This functionality is particularly useful for compiling before-and-after images or creating documentation for insurance purposes.
Exporting Or Printing Historical Images - Watch Video

-1.png?height=120&name=SotaCloudLogo_LightBG%20(1)-1.png)