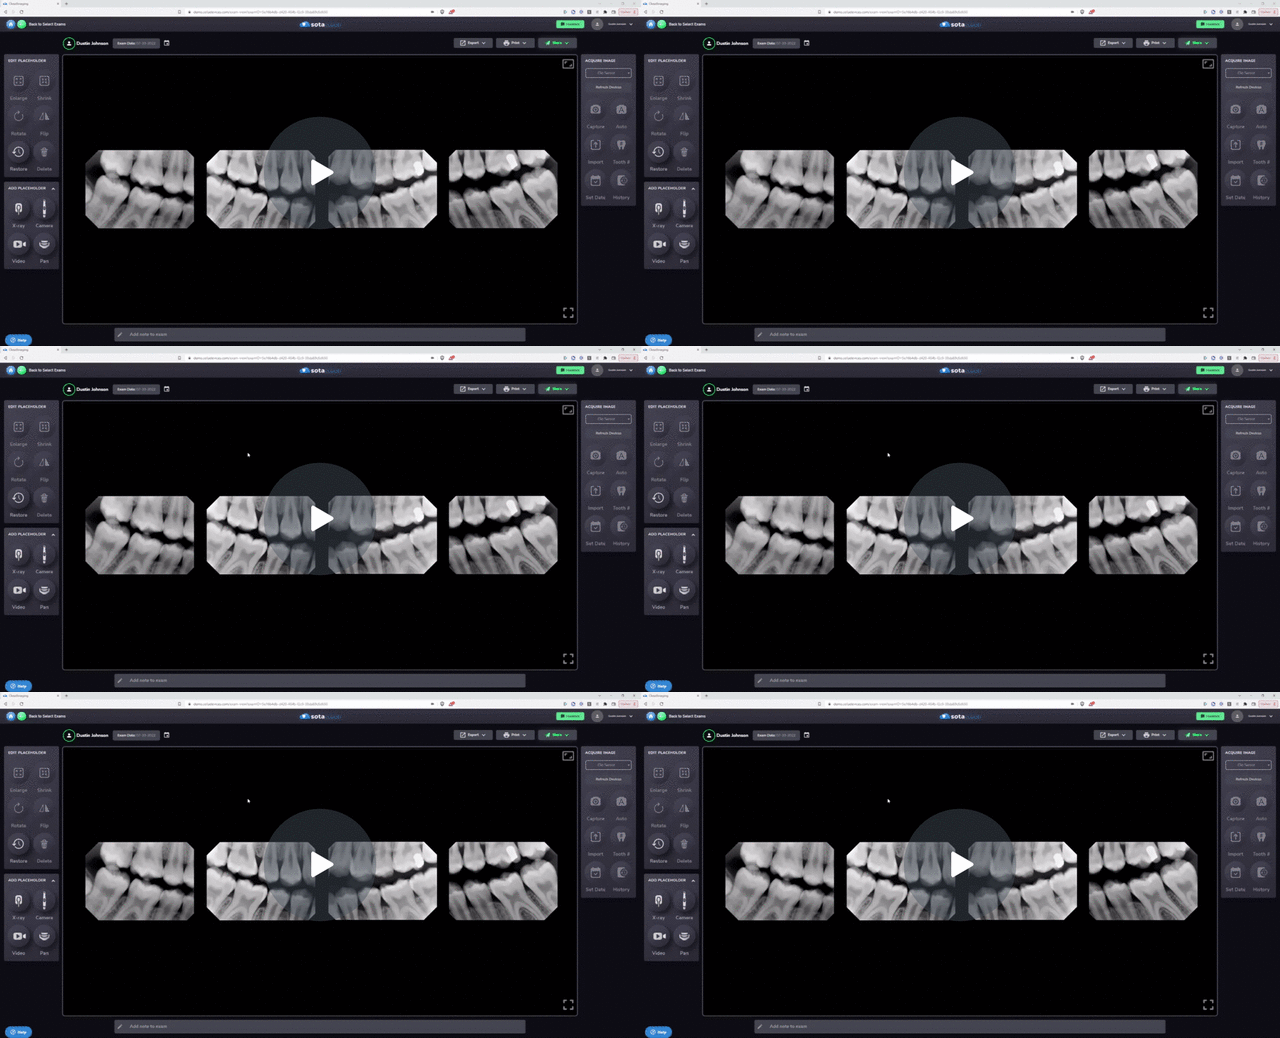
How to Perform a One-Click Retake in SOTA Cloud
Retaking images in SOTA Cloud is made simple with the one-click retake feature. Follow these steps to retake an image effortlessly:
1. Select the Image to Retake:
- Identify the image you wish to retake within the exam view.
- Click on the image that requires retaking, such as those with cone cuts or suboptimal exposure.
2. Choose the Device and Click Retake:
- Ensure the appropriate device is selected for capturing the retake.
- Upon selecting the image, the capture button transforms into a "Retake" option.
- Click on "Retake" to capture a new image to replace the existing one.
3. Review and Compare Images:
- After retaking the image, it appears alongside the original for comparison.
- Compare the original and retaken images side by side to assess improvements in exposure and quality.
4. Select Preferred Image:
- Choose the preferred image by clicking on it, highlighting it with a green border.
- Decide whether to keep the retaken image or stick with the original.
5. Utilize Additional Options:
- Opt to keep the retaken image automatically for future retakes by selecting the corresponding option.
- Any images not selected for retention are saved in the restore menu for later retrieval.
6. Finalize Selection:
- Accept the chosen image by clicking "Use Selected Image."
- Optionally, restore any unselected images from the restore menu to retain a record of all captured images.
By following these straightforward steps, you can efficiently retake and compare images within SOTA Cloud, ensuring optimal quality and accuracy in your dental imaging.
How To Retake An Image - Watch Video
