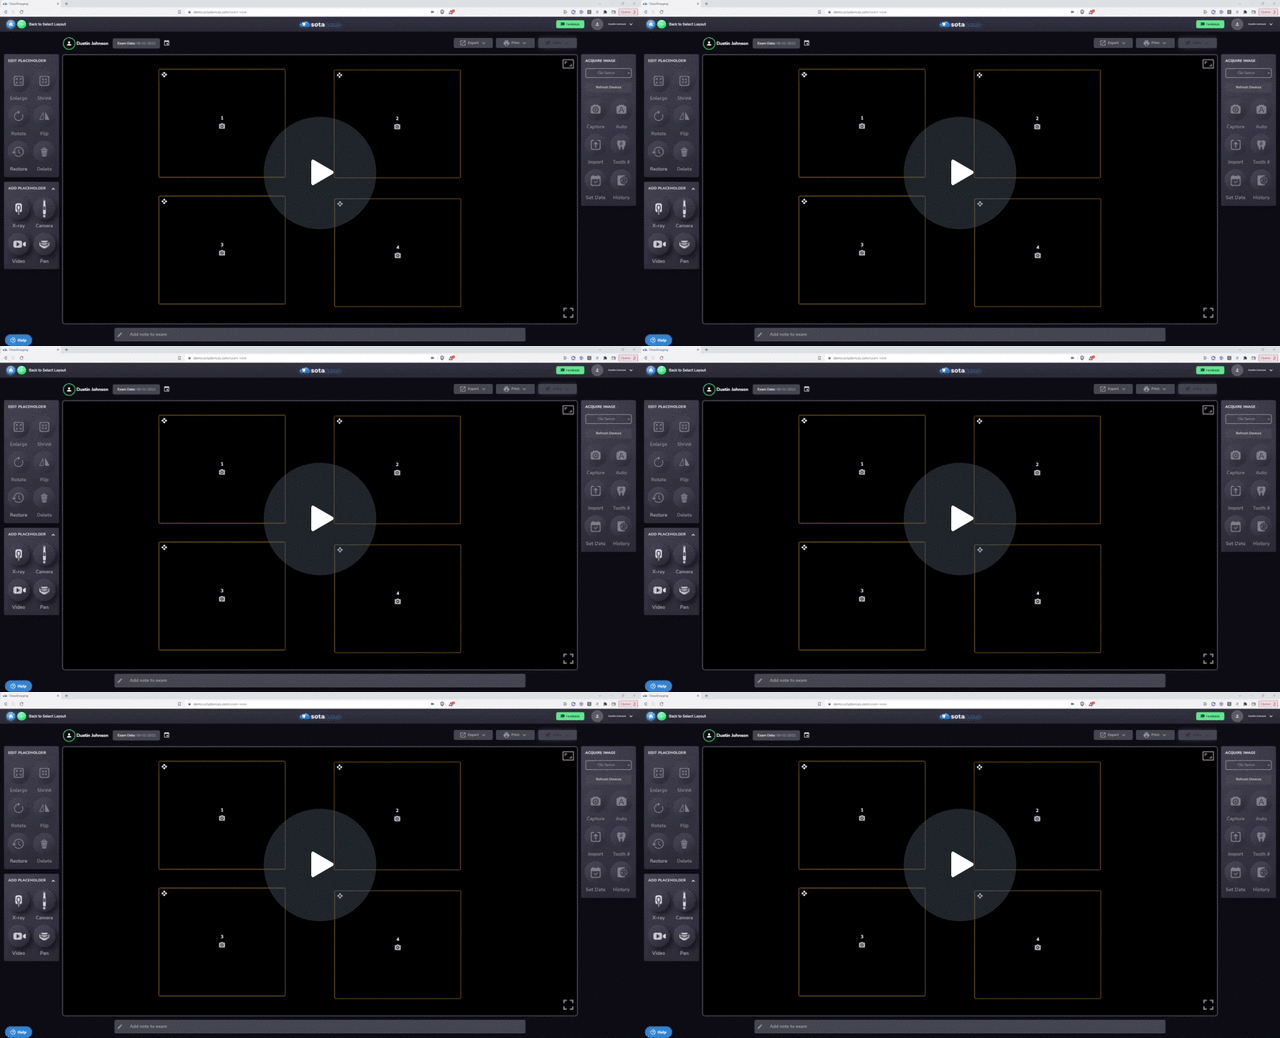
How to Import Images
Importing images into SOTA Cloud is a simple process that can be accomplished in two ways. This guide will walk you through each method step by step.
Method 1: Drag and Drop
-
Prepare Images:
- Ensure the images you want to import are saved on your computer or device.
-
Access SOTA Cloud:
- Log in to your SOTA Cloud account and navigate to the exam or location where you want to import the images.
-
Drag and Drop:
- Open the folder containing your images alongside the SOTA Cloud interface.
- Click and hold on the images you wish to import, then drag them into the desired placeholder within the SOTA Cloud interface.
- Release the mouse button to drop the images into the placeholder.
- The images will be automatically sorted into the placeholder.
-
Preview and Rearrange:
- Hover over the thumbnails of the imported images to preview them.
- If necessary, rearrange the placeholders by clicking and dragging them into the desired order.
-
Import:
- Once satisfied with the arrangement, click the "Import" button to upload the images to SOTA Cloud.
Method 2: Using the Import Button
-
Start New Exam:
- Begin by starting a new exam within SOTA Cloud, selecting the appropriate exam type.
-
Access Import Option:
- Click on the first placeholder within the exam interface.
-
Select Import:
- Look for the import option, usually represented by an import button or similar.
- Click on the import option to initiate the import process.
-
Navigate and Select Images:
- Navigate to the location on your computer or device where the images are stored.
- Select the images you wish to import by clicking on them.
-
Complete Import:
- Once the desired images are selected, confirm the import action.
- The selected images will be imported into the exam and will appear in the designated placeholders.
How To Import Images - Watch Video
