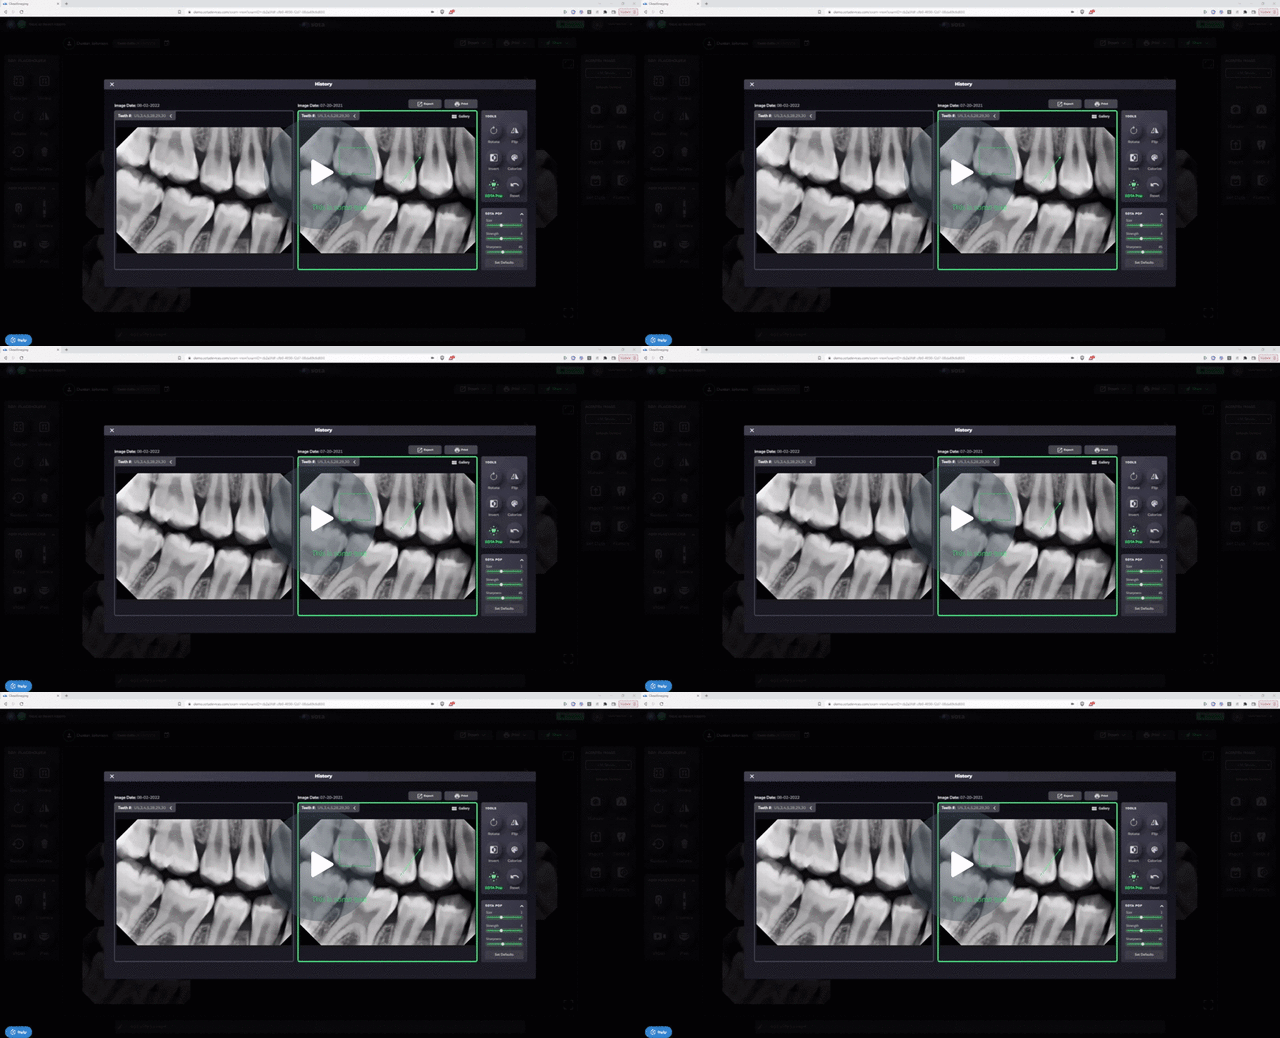
In SOTA Cloud, you can easily print or export multiple images related to each other using the history view feature.
1. Access the History View:
- Navigate to the history view in SOTA Cloud where all relevant images are stored.
2. Select Images:
- From the gallery or history view, select the images you want to print or export. You can choose multiple images that relate to one another.
3. Click Print:
- Once you've selected the desired images, locate and click on the "Print" button. This action will initiate the printing process.
4. Review Selected Images:
- A preview screen will display the images you've selected for printing. Verify that all necessary images are included in the selection.
5. Customize Printout:
- Before proceeding, you have the option to customize the printout. This includes selecting metadata to be included in the printouts, ensuring compliance with any restrictions on metadata.
6. Choose Print or Save as PDF:
- After customization, you have two options:
- Click "Print" to directly print the selected images.
- Click "Save as PDF" to save the images as a PDF file on your device.
7. Confirm Action:
- Confirm your selection by clicking the appropriate button ("Print" or "Save as PDF").
8. Review and Save:
- Once the action is completed, review the printed documents or the saved PDF file to ensure that all selected images are included as desired.
By following these straightforward steps, you can efficiently print or export a series of related images from the history view in SOTA Cloud. This feature is particularly useful for compiling before-and-after images or other sets of related images for documentation purposes.
Exporting Or Printing Historical Images - Watch Video

-1.png?height=120&name=SotaCloudLogo_LightBG%20(1)-1.png)