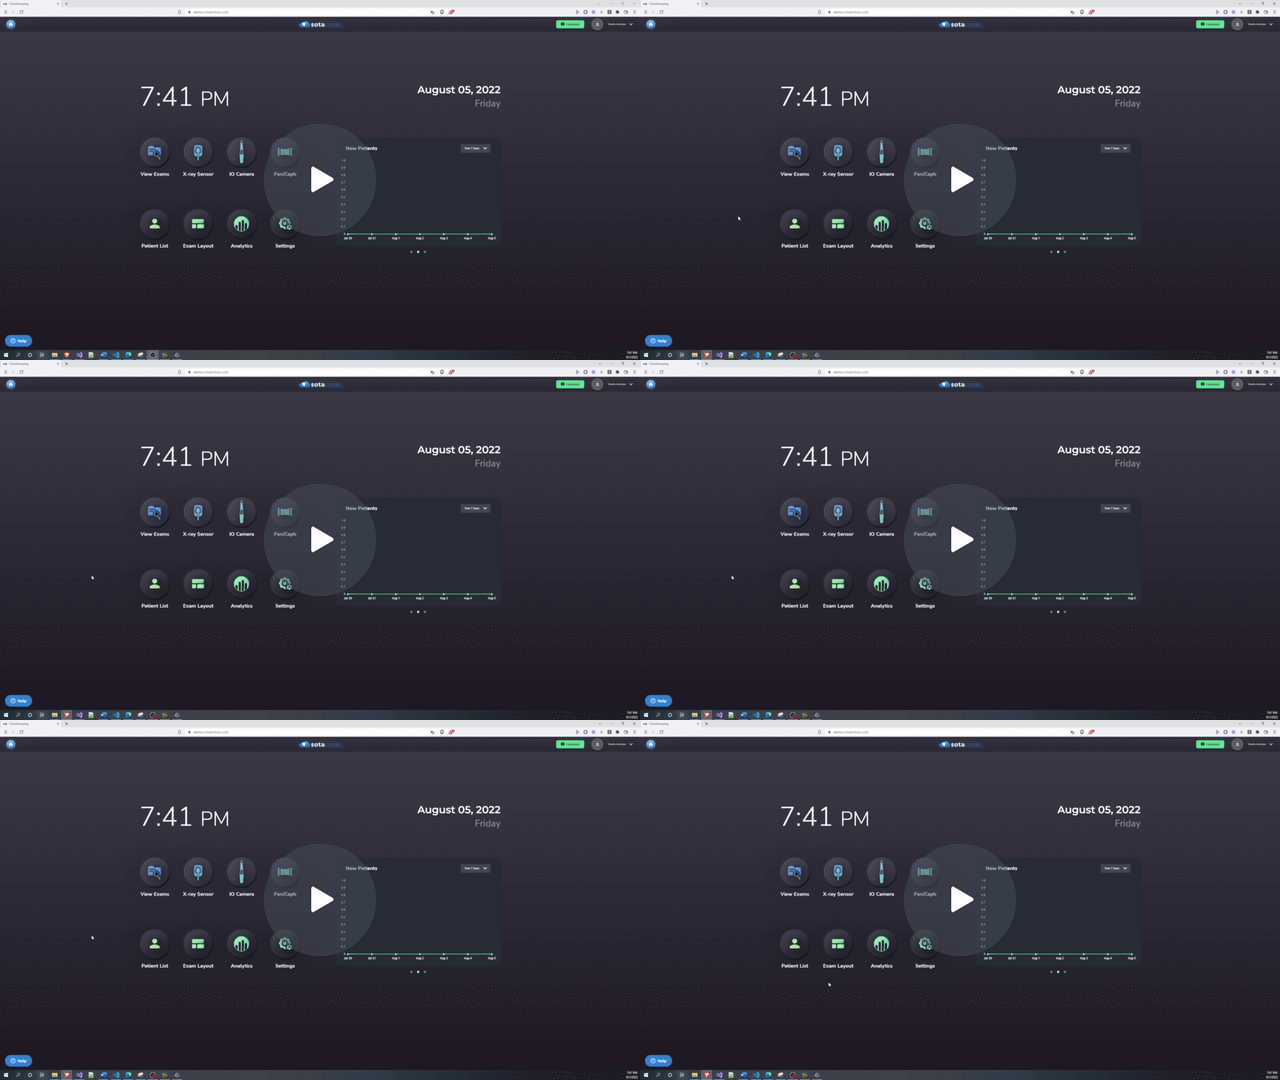
How To Create Custom Exam Layouts/Templates
Creating custom layouts from the home screen can streamline your workflow and improve efficiency when working with x-ray exams. By following these simple steps, you can design layouts tailored to your specific needs.
NOTE: You will need to be logged in as an admin user first.
Step 1: Access Layout Options:
- Click the "Layout" button on the home screen.
- Choose between starting from scratch or using an existing layout.
Step 2: Using an Existing Layout:
- Select a similar layout for convenience.
- Drag and drop placeholders for elements like X-ray images.
- Resize placeholders as needed.
Step 3: Adding X-ray Placeholders:
- Click the X-ray button and select the type.
- Rotate the placeholder so the cable points to the mouth center.
Step 4: Positioning Placeholders:
- Drag placeholders to preferred positions.
- Optimize space with the "fill" button.
Step 5: Reordering Elements:
- Use the "reorder" button to arrange placeholders.
- Left-click to set the order, then right-click to confirm.
Step 6: Editing Layout Name:
- Rename the layout to reflect its contents.
- Save the layout once finalized.
Step 7: Managing Layouts:
- Access saved layouts from the home screen for x-ray exams.
- Favorite frequently used layouts with the heart icon.
- Delete unwanted layouts using the trashcan icon.
Step 8: Creating from Scratch:
- Opt for starting from scratch to build a custom layout.
How To Create Custom Exam Layouts/Templates - Watch Video
