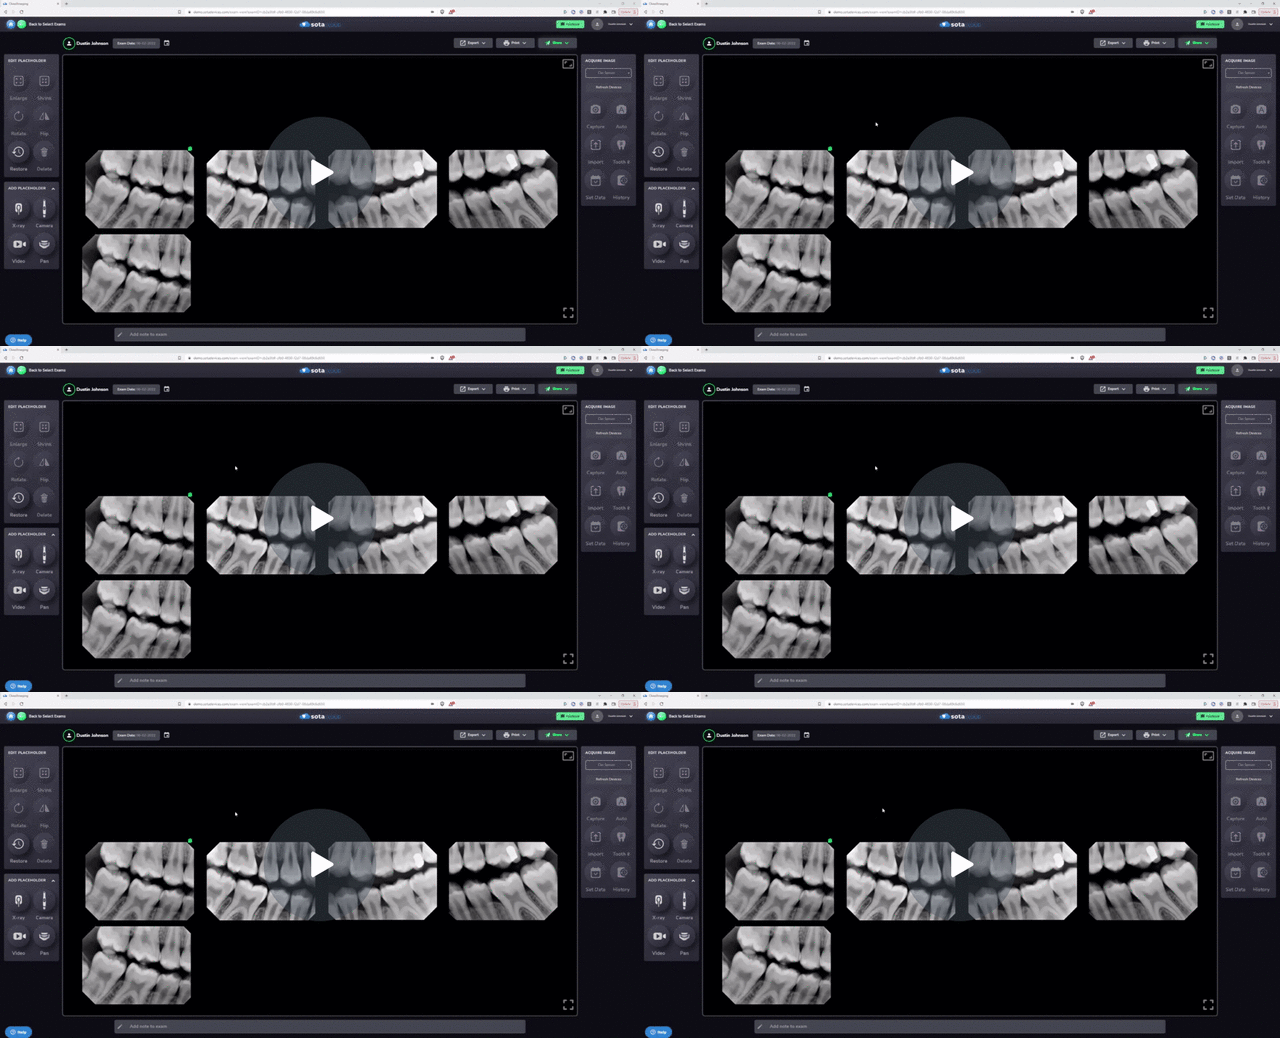
Comparing historical images in SOTA is a valuable tool for assessing changes over time in a patient's dental health.
1. Access Historical Images:
- Begin by selecting an image you want to compare. Click on the image to highlight it.
2. Open History View:
- Once the image is selected, click on the "History" button. This will display all images in the patient's records that share tooth numbers with the selected image.
3. Review Corresponding Images:
- In the history view, you'll see a list of images with tooth numbers that match those in the selected image.
- Tooth numbers are typically displayed next to each image, indicating which teeth are present in the image.
4. Navigate Through Images:
- Use the navigation controls at the bottom to cycle through the images in the patient's history.
- Find an image you'd like to compare by browsing through the list.
5. Select Image for Comparison:
- Once you've found a relevant image for comparison, simply click on it.
- The selected image will load for comparison.
6. Apply Filters (Optional):
- To ensure a clear comparison, you can apply filters to the images.
- Click on the filter options to apply filters such as contrast adjustments or color enhancements.
- Apply filters to both the original image and the historical image for a consistent comparison.
7. Review Comparison:
- After applying filters, review the comparison between the original and historical images.
- Look for any changes or developments in dental health over time.
By following these steps, you can effectively compare historical images in SOTA, enabling comprehensive analysis of a patient's dental history and treatment progress.
How To Compare Historical Images - Watch Video

-1.png?height=120&name=SotaCloudLogo_LightBG%20(1)-1.png)