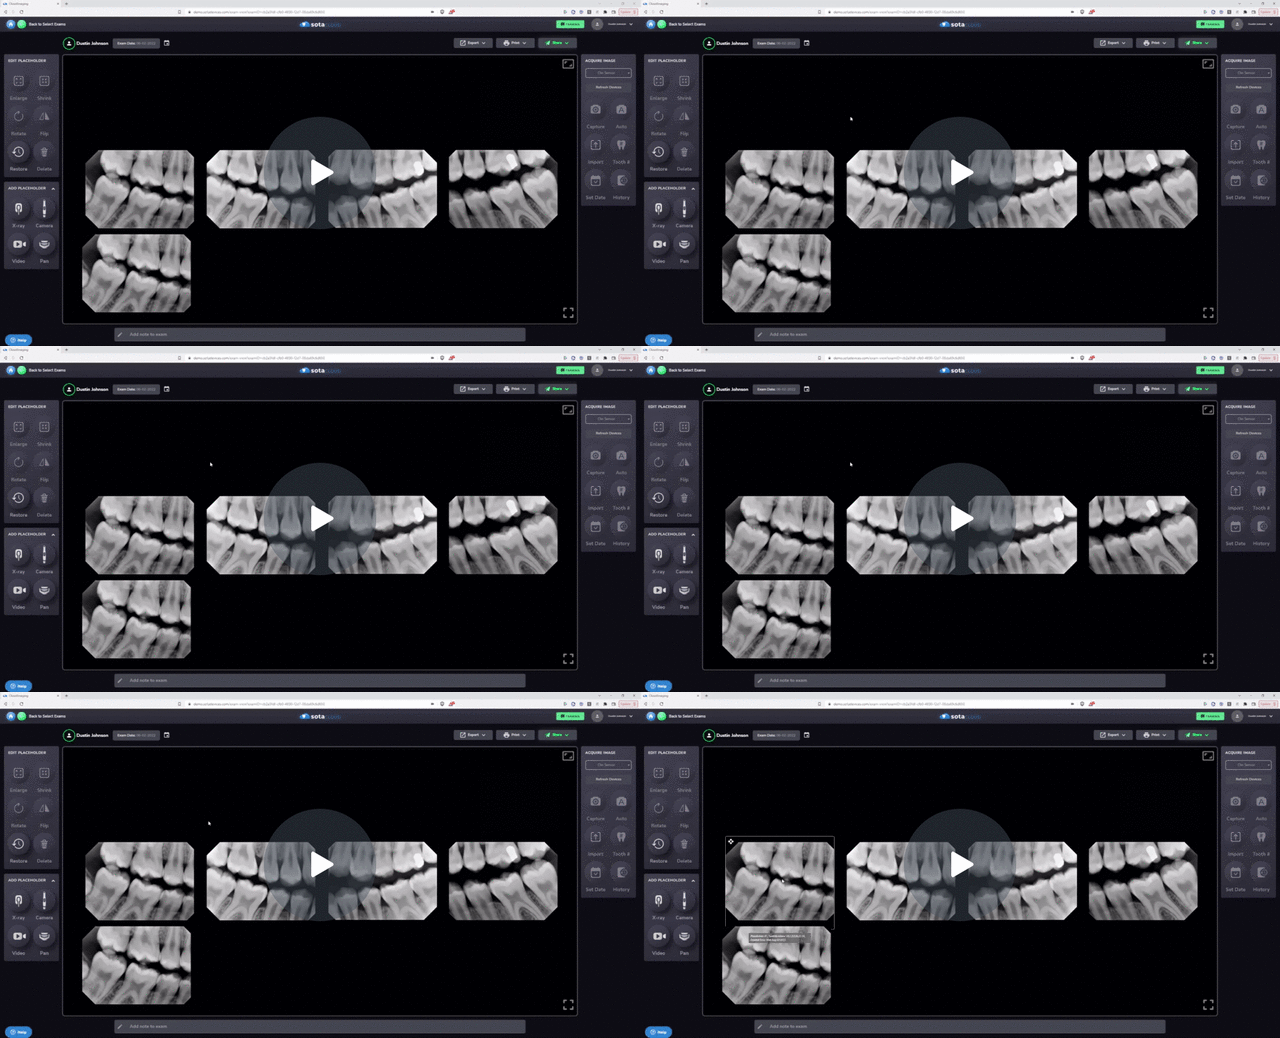
Annotating or drawing on an image in SOTA is a valuable feature for highlighting important details or adding notes for reference. Follow these steps to annotate or draw on an image effectively:
1. Access Image View:
- Double-click on the image from the exam view to enter the image view, where you can see the image in full screen.
2. Choose Annotation Options:
- In the image view, select the annotation tool and choose a color for your annotations. For example, select blue for annotations.
3. Annotate or Draw:
- Use the selected color to draw on the image using arrows, boxes, or text. These annotation controls are draggable, allowing you to resize or reposition them as needed.
4. Save Annotations:
- Once you've completed your annotations, click the save button to lock the annotations to the image. This ensures that annotations are visible when you return to the exam view.
5. Hide or Show Annotations:
- If you want to hide annotations to review anatomy, click the hide button. To bring back annotations, simply click the show button.
- You can also clear all annotations if needed and create new annotation layers as desired.
6. Use Ruler Tool (Optional):
- If measurements are required, use the ruler tool to measure objects in the image. Drag the arrow to measure, and adjust the measurement as needed to avoid blocking anatomy.
- Click save to lock the measurement annotation layer.
7. Add Notes:
- Additionally, you can add notes to the image for further context. These notes appear as sticky notes in the exam view, making it easy to identify images with associated notes.
- Add a note to the image, and it will be displayed as a green sticky note in the top right corner of the image.
By following these steps, you can effectively annotate, draw, and add notes to images in SOTA, enhancing communication and documentation within the platform.
How To Draw On Images - Watch Video

-1.png?height=120&name=SotaCloudLogo_LightBG%20(1)-1.png)